Here are two easy things to check when your refrigerator has both malfunctions of no water and no ice. These fixes aren’t to the “broken parts” that we usually look for in the troubleshooting process. They are the icemaker supply line burst valve and the water filter. Either one of these items can stop all flow of water in the refrigerator without being “broken.” Other items can give these symptoms too, but these are quick and easy to check.

Icemaker Supply Line Burst Valve
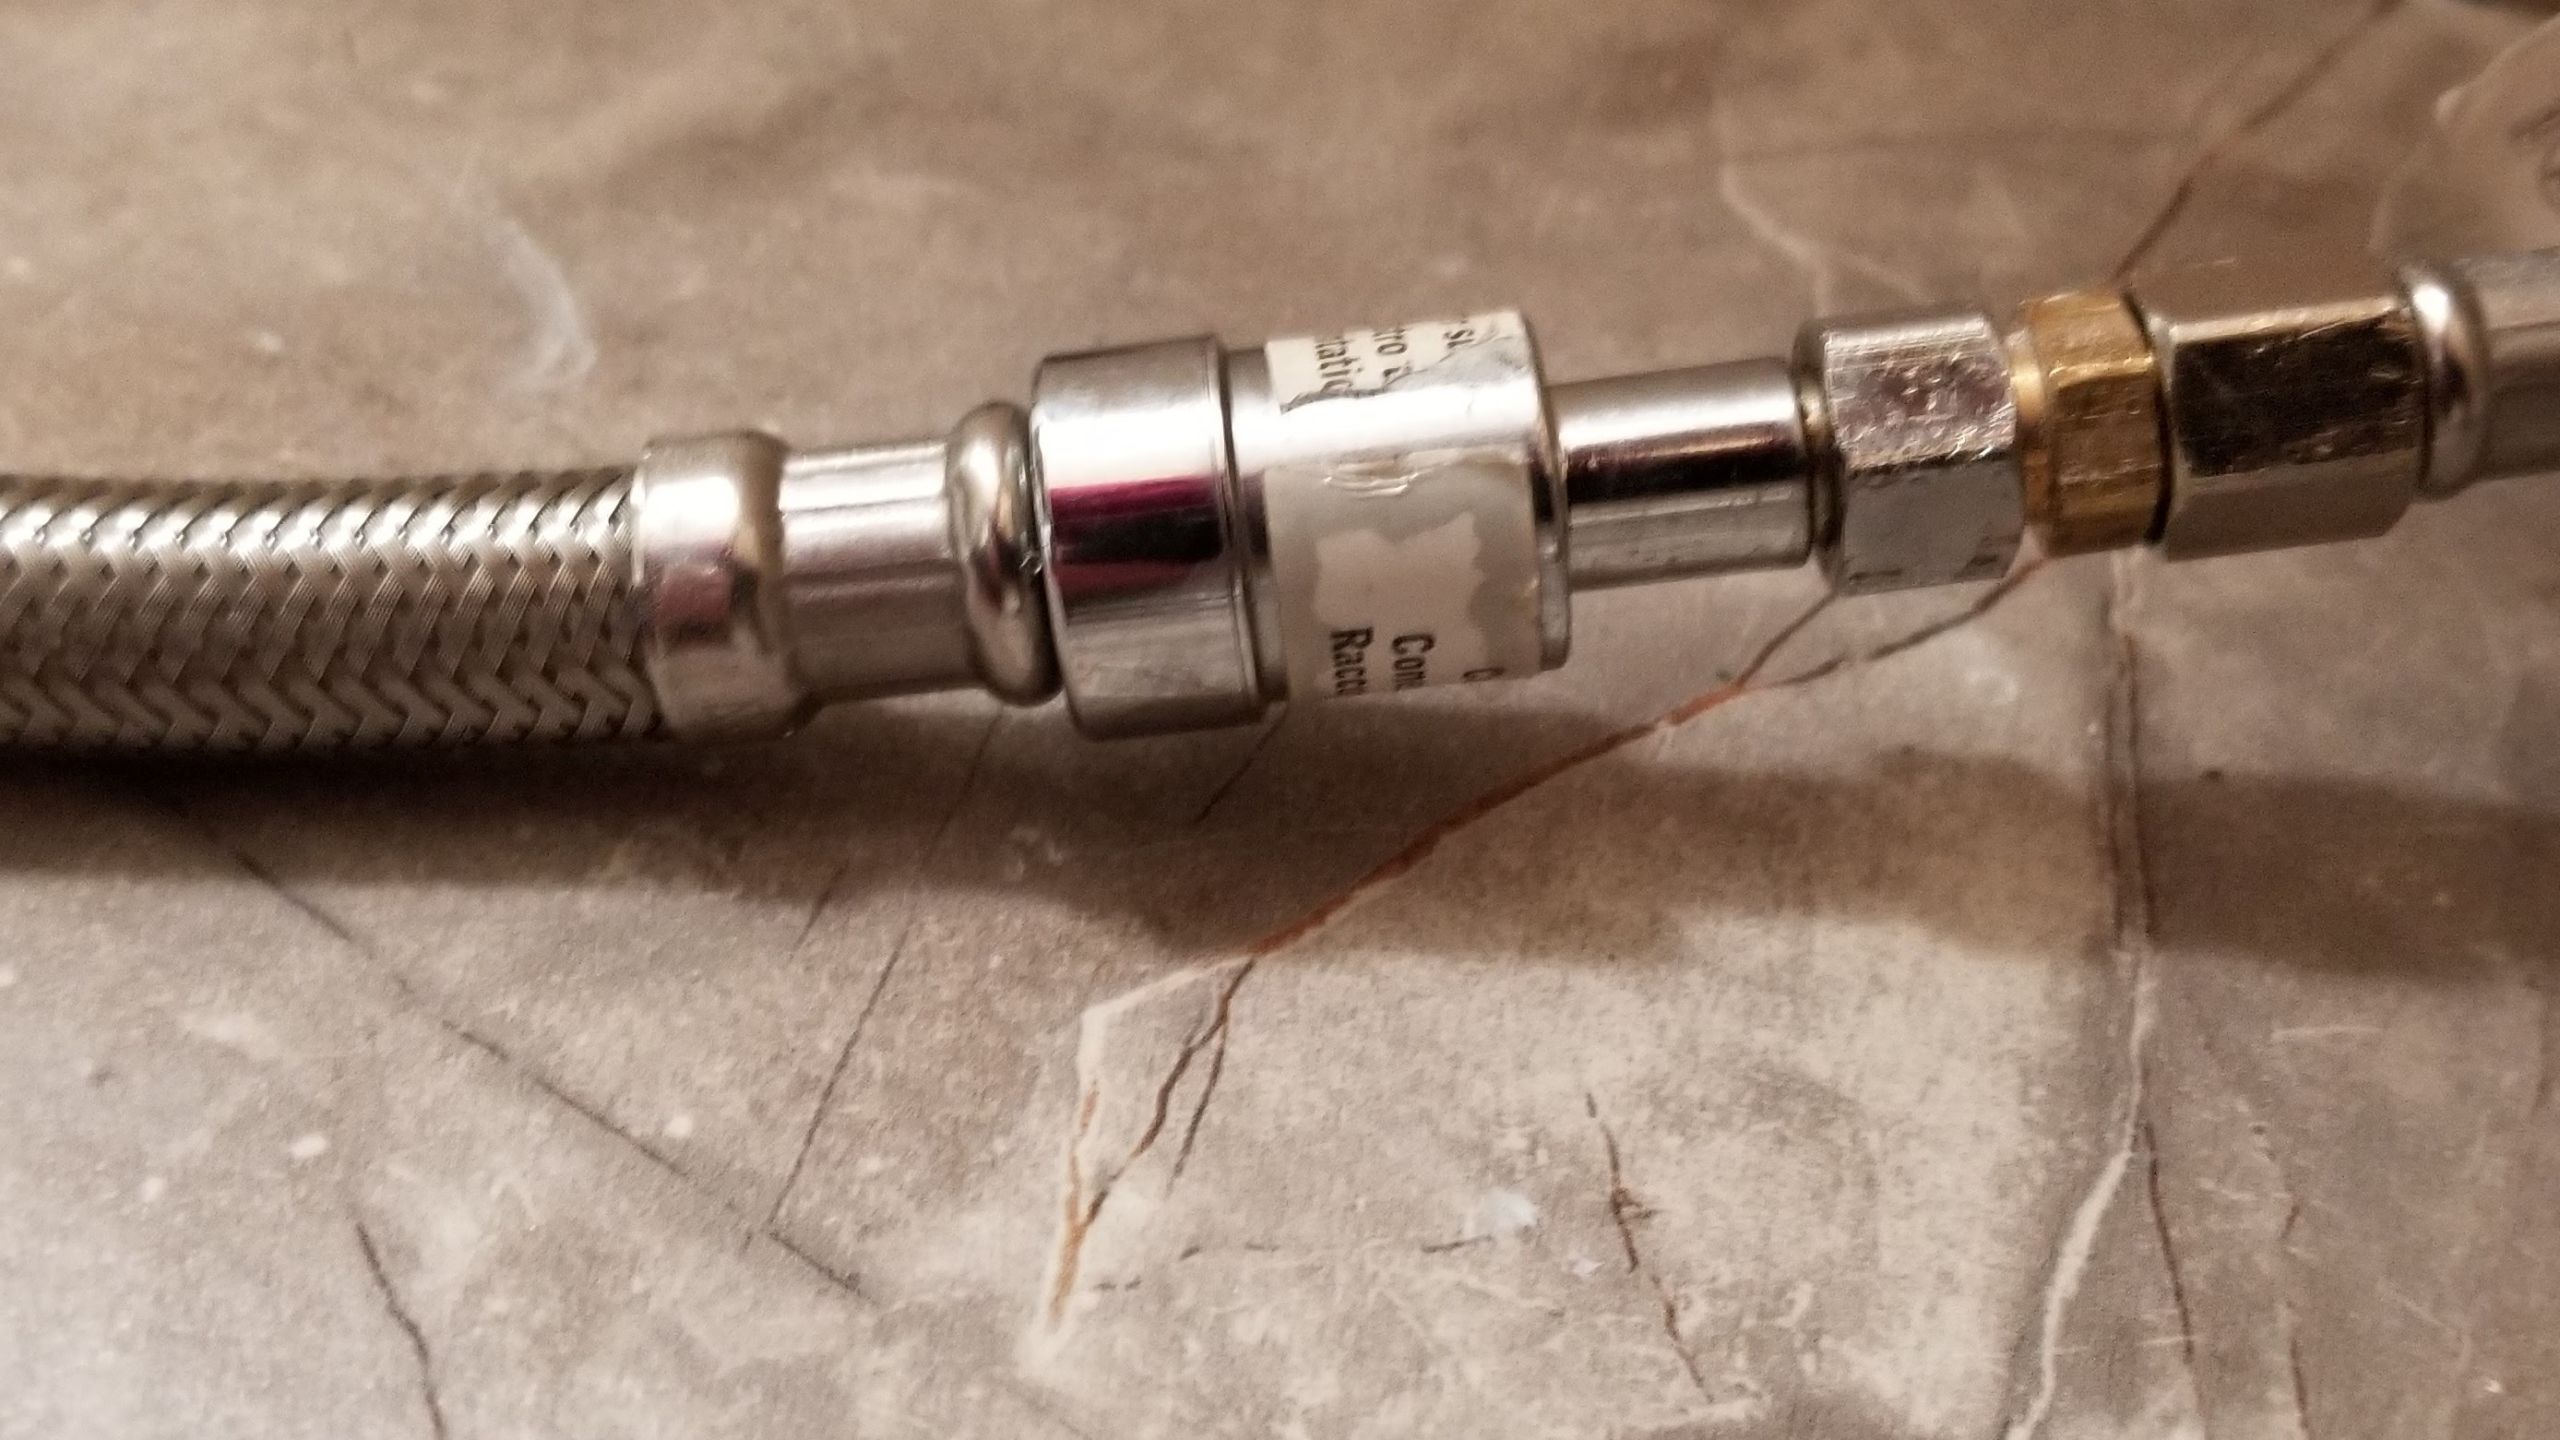
The burst valve is an add-on item that may have been installed by a plumber or a refrigerator installer in the water line between the refrigerator and water shut off valve. Not every refrigerator installation will have one. The purpose of the burst valve is to stop the water flow in the event the water line bursts and begins to flood the house.
The burst valve will also stop the flow of water if the water is turned on too quickly at the shutoff valve. Some homeowners have inadvertently activated their burst valve when they shut the water off to change their water filter and then failed to open the shutoff valve slowly.
Resetting the Icemaker Supply Line Burst Valve
- Turn off the water at shutoff valve.
- Disconnect burst valve from shut off valve. This relieves the pressure.
- Reconnect the burst valve.
- Slowly turn on shut off valve.
- Test for water flow at water dispenser on door.

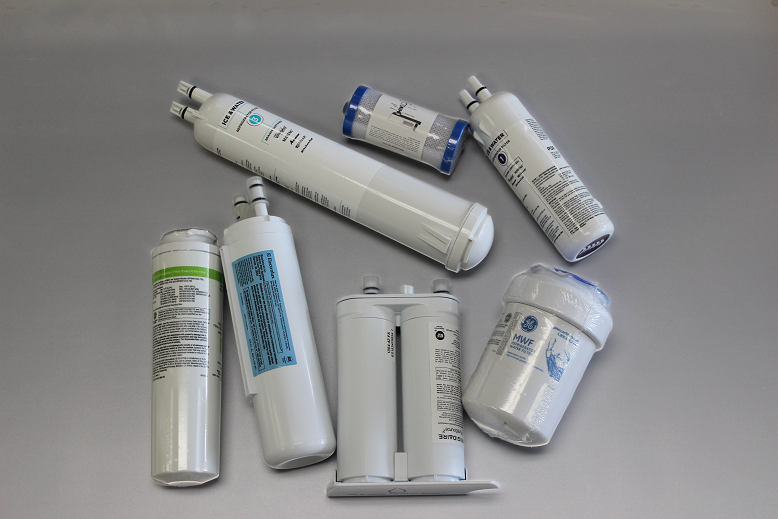
Refrigerator Water Filter
Most refrigerator manufacturers (Whirlpool, GE, Hotpoint, Frigidaire, Electrolux, LG, Samsung, KitchenAid, etc..) offer refrigerators with built-in water filters. There comes a point where water filters can stop up completely and cut off the water supply. Replacing the filter will eliminate it as a possible cause of the stoppage.
There you have it. Check these two “not so obvious” items before beginning systematic troubleshooting for no water flow in your refrigerator.
Whirlpool washers start the wash cycle by filling with water.
Nothing happens when the water does not flow and the problem can be one of several things. First, a quick explanation of why we care about the water level switch when the washer is not filling and then I will detail the basic steps I use to troubleshoot any washer that will not fill.
The function of a water level switch on a Whirlpool washer.
The water level switch controls the power going to the water inlet valve. Electrical power is routed from the timer through the water level switch to the water inlet valve. When the correct water level is reached in the tub, the water level switch will remove power from the water inlet valve and direct it to the motor. This action ends the fill cycle and begins the agitation phase. Specific models may have more components in the circuit, but this is the basic operation.
Troubleshooting steps I use to identify the problem.
These steps apply to the most common washers. Upscale models may have additional components in the circuit (such as thermistors and water valves with more than two solenoids), but these basic steps can serve as a starting point.
- Select different water temperatures.
- If the water flows on one temperature selection and not another.
- Disconnect the water hoses at the machine and test by running water through each hose into the drain.
- Inspect the sediment screens in the inlet of the water valve and clean any sediment that is blocking the flow.
- If suspected flow problem is corrected, reconnect hoses and go back to step 1, otherwise, go to step 3 “Test the Whirlpool washer inlet valve” (skip step 2).
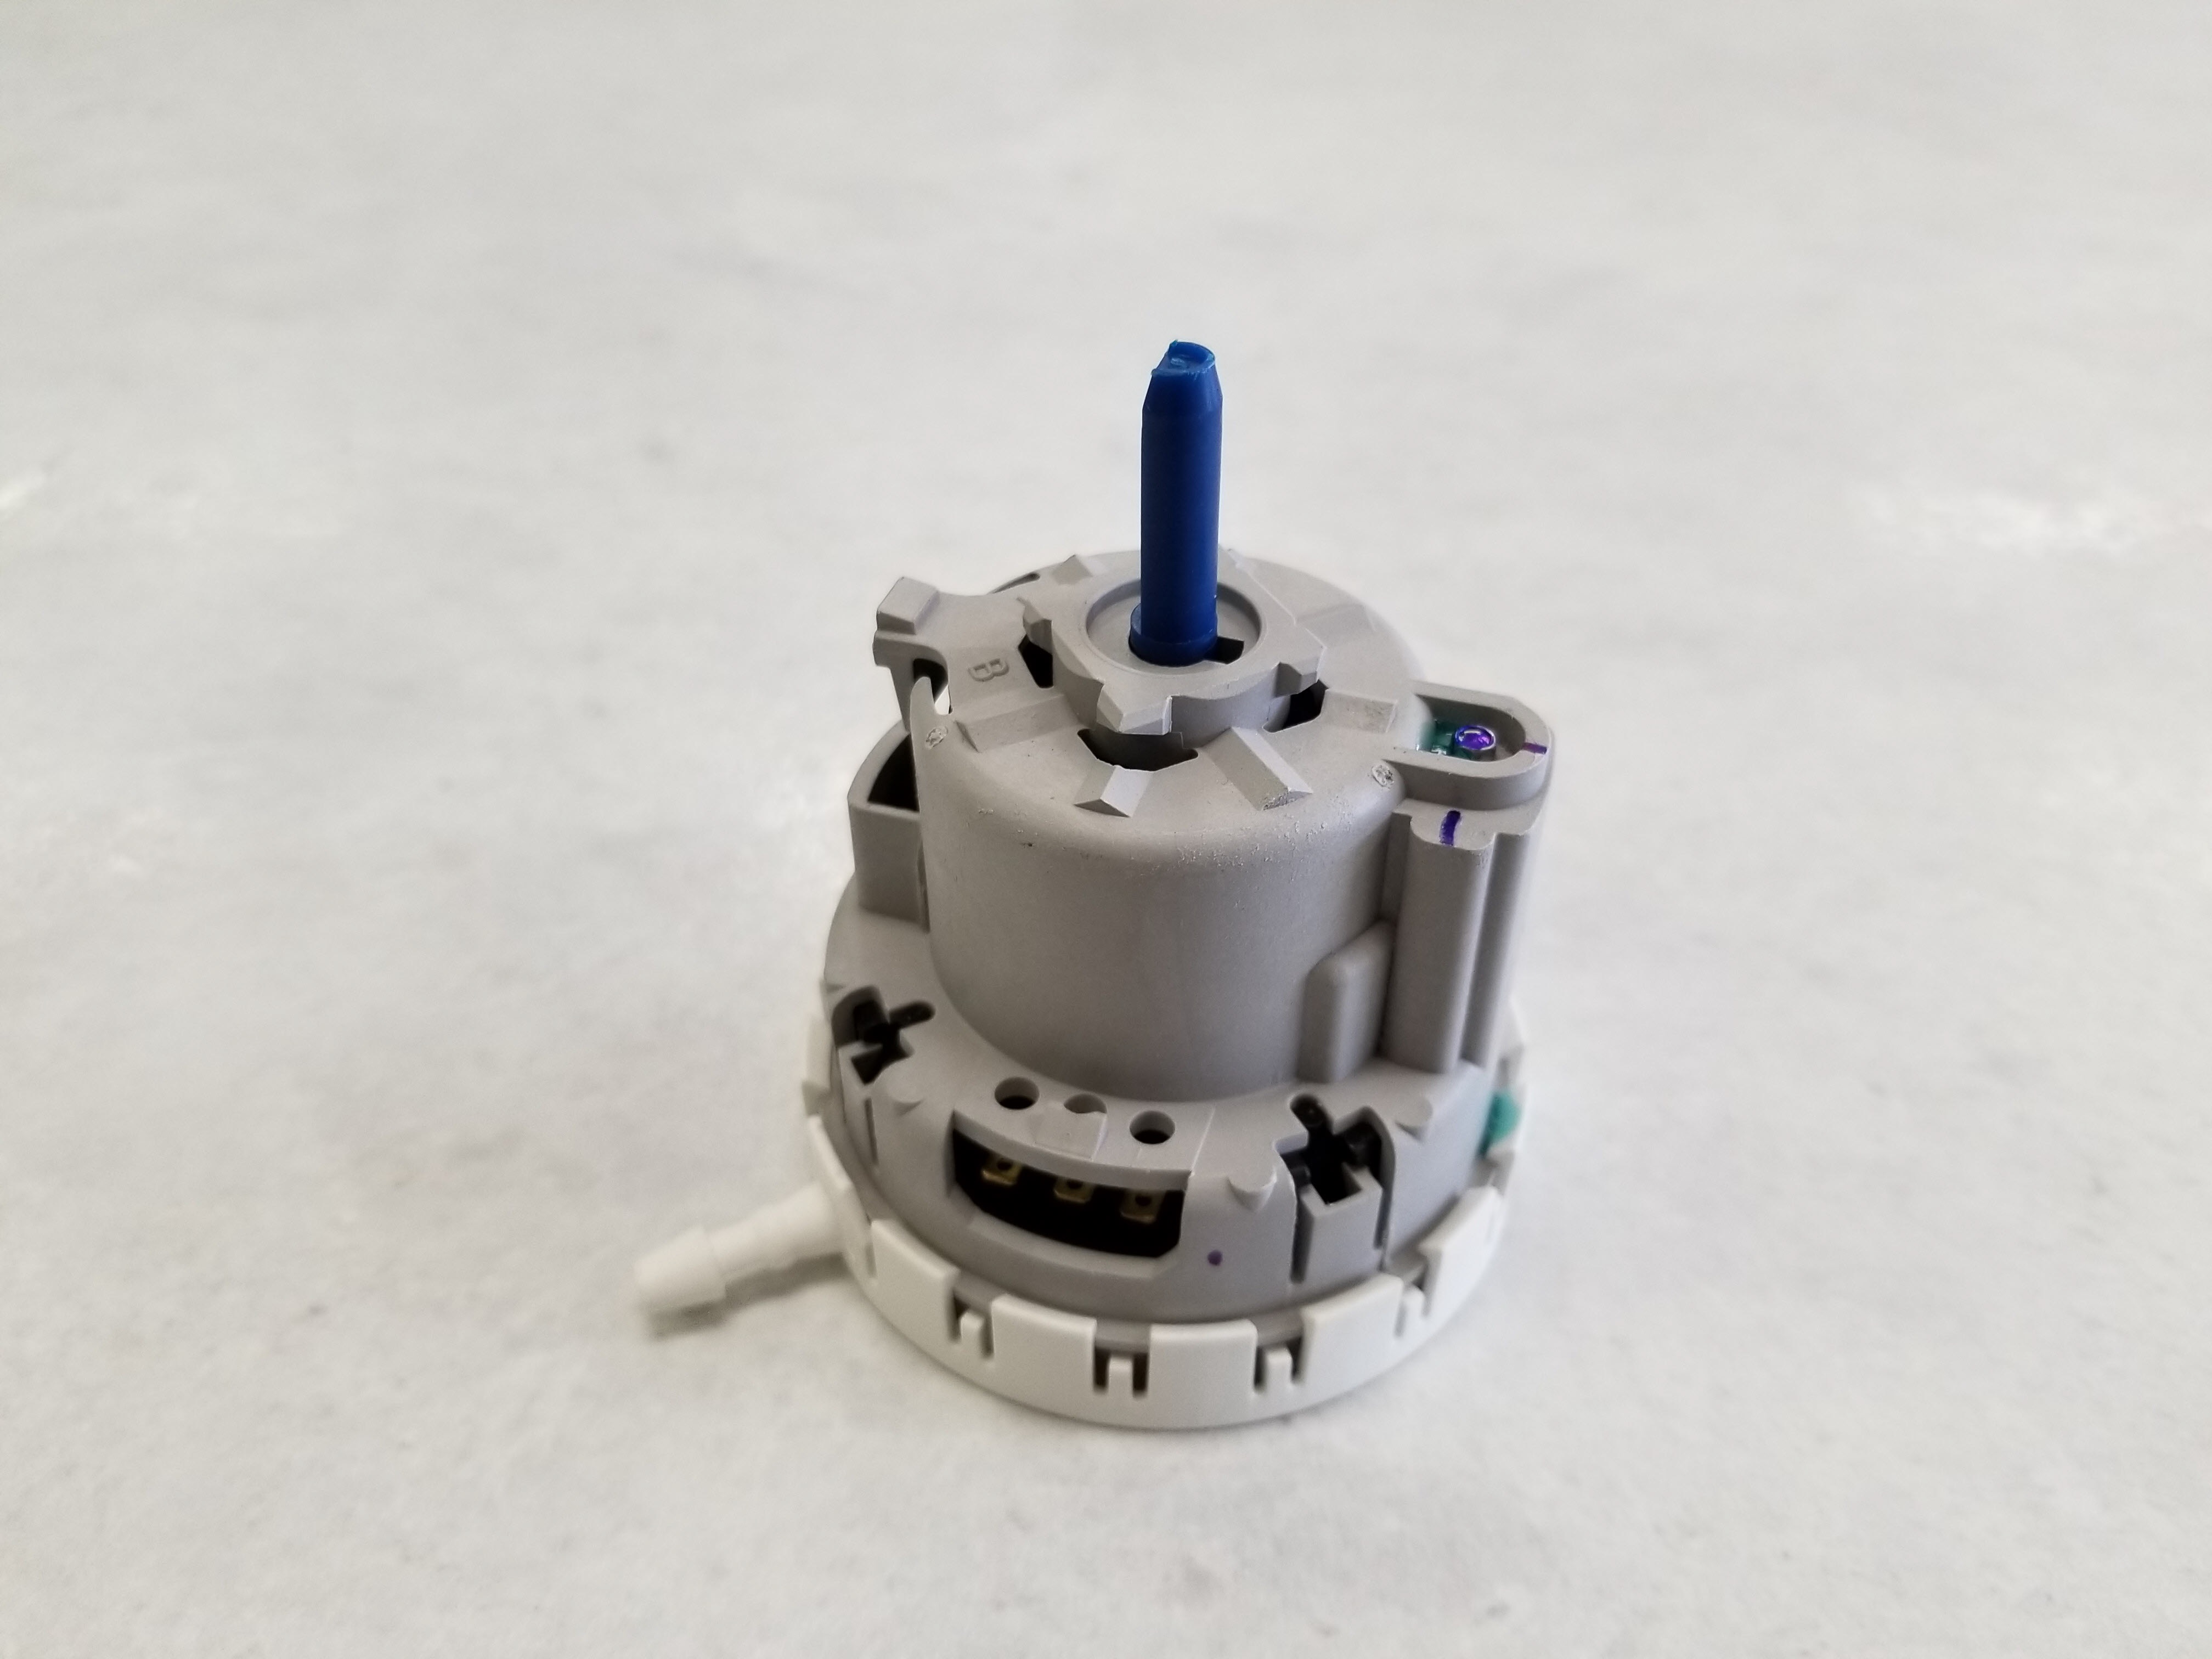
- If there no water flow on any selection go to step 2 below picture.

- Remove and test the Whirlpool washer water level switch (picture above) also known as a pressure switch. Use a multi-meter to test for continuity (connection) between the terminals. Alternatively, the pressure switch can be taken to the nearest U-FIX-IT store for free testing.
- Two of the three terminals should show continuity between them.
- Blow gently on the hose connection of the pressure switch until you hear a click.
- The two terminals that were showing continuity should now show open until the pressure is released.
- The common terminal should now show continuity to the third terminal until the pressure is released.
- Water level switch is bad if it fails to test as described in the previous two steps, otherwise, go to step 3.

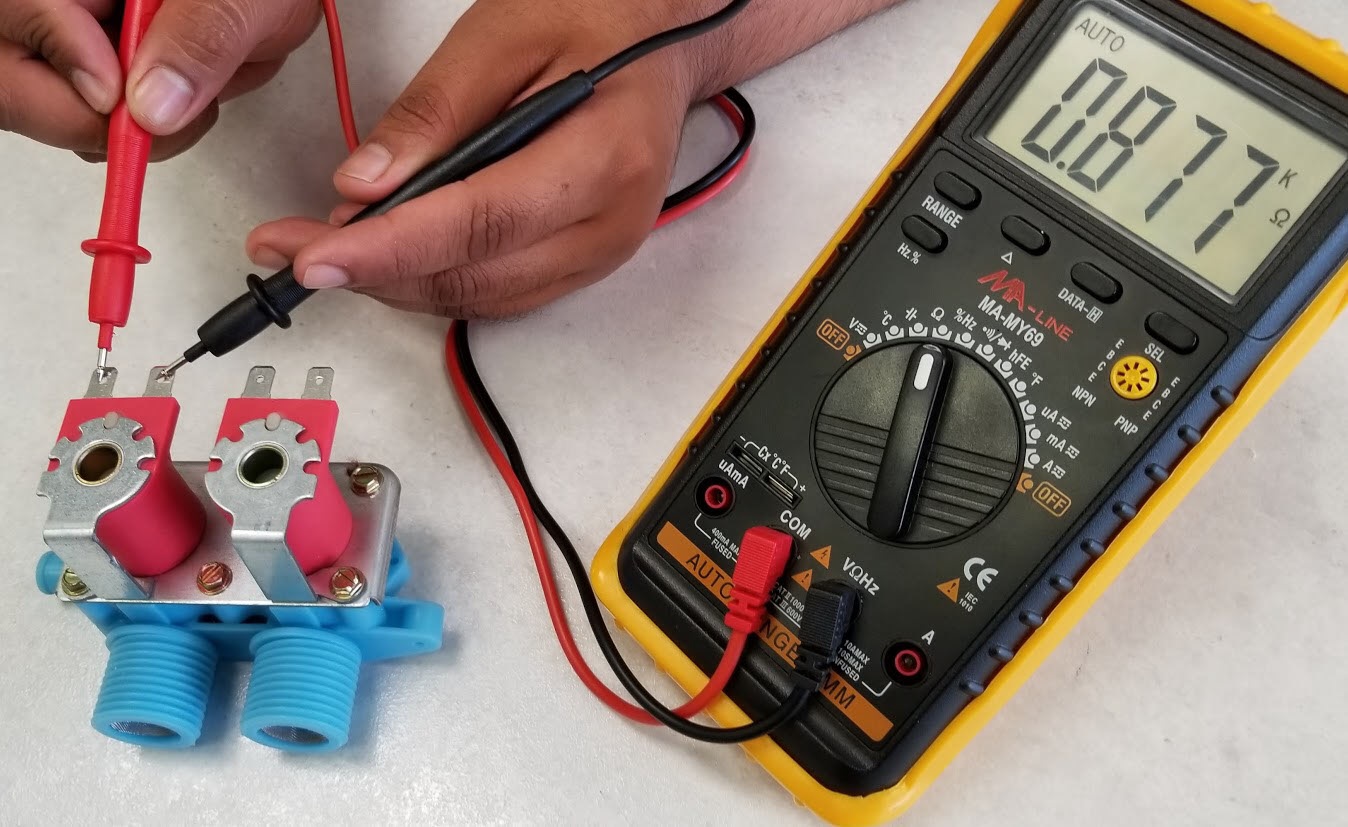
- Test the Whirlpool washer water inlet valve or remove the water valve and take it to the nearest U-FIX-IT store for free testing.
- Set the water temperature to warm.
- Using a multimeter check that there is 110 volts present at one of the solenoid coils on the water valve.
- If 110 volts is present at the coil and no water is flowing through the valve then water valve is bad.
- If 110 volts is not present at any solenoid then use the schematic wiring diagram to work back through the circuit until the lost voltage is found.
If these steps for identifying the common Whirlpool washer fill problems do not isolate the problem, locate the wiring diagram for your washer and call the nearest U-FIX-IT store for personalized help in locating the problem.
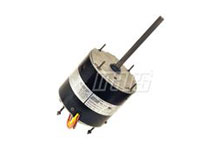
It is a big deal when the air conditioning goes out on a hot summer day, but there is no need to wait for help to come to you. Many air conditioning malfunctions are not difficult to identify and repair. The following test procedure will help you identify if the problem with your outdoor unit is the fan motor, the capacitor, or the contactor.

Troubleshooting the “outdoor air conditioner unit not running” starts with some easy commonsense steps:
- Make certain the thermostat is set to cool and the indoor unit is running (blowing air out the room air vents).
- Listen to the outdoor unit for the sound of the compressor running.
- If you hear the compressor running go to “section A” below. Note, compressors can run quietly.
- If you cannot hear the compressor running go to “section B” below.
(more…)
A Whirlpool dryer helps make doing the laundry more manageable and convenient. However, when it suddenly stops working, it can throw a wrench into your daily routine.
Whirlpool is a trusted brand known for manufacturing reliable dryers as well as other appliances. However, it does sometimes happen that a Whirlpool dryer won’t get hot or dry properly. This issue is particularly common in older or outdated dryers. In this article, we go over some of the possible causes of a non-heating Whirlpool dryer and which Whirlpool dryer parts to check.

 (more…)
Symptom – Burner lights off, but goes out quickly.
What is it? – This symptom is often caused by a dirty flame sensor that can be easily cleaned. Not all furnaces have a flame sensor, but if your furnace has one, it will be mounted close to the burner with the metal rod positioned in the flame. Flame sensors vary in size (2 to 4 inches) and shape (see examples below). They are powered by a single wire carrying a small amount of electricity (less than 10 DC microamps). (more…)

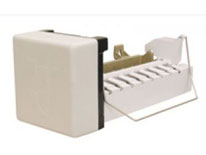
This easy test for ice makers will quickly prove if the ice maker has failed or the water inlet valve is bad.
 Follow the steps below:
- Use a cup to pour water into the ice maker mold.
- Close the freezer door and wait for two hours.
If the ice maker makes cubes and kicks them into the bucket – the water inlet valve is bad.
If there are no new cubes in the bucket – the ice maker is bad.
Call U-FIX-IT for free assistance if you have any questions about this test. U-FIX-IT has most ice makers in stock.
 How often have you lost three hours or more of your time waiting for a technician and then watch the repair happen in less than 30 minutes? U-FIX-IT can help you save time and money!
At U-FIX-IT we are all about helping you diagnose your appliance correctly and then providing the tech tips necessary to help your repair go smoothly and quickly. You can choose when you work on your appliance. No need to stand around waiting for the technician who will be there between noon and 4 o’clock. But wait, there’s more! You will not have to pay the labor charge or the trip charge. Many customers report saving from 50% to 75% of the cost of the service call. Occasionally we save 100% of the service call. There are some repairs that can be accomplished with no parts. These repairs are few and far between, but we love it when that happens. It is fun to win! Jim Plummer